
Congratulations on your new ECO R6 electric bike! To make the assembly process even easier, you can follow along with our detailed YouTube assembly video.
Now, let’s unbox and assemble your bike together. Follow these simple steps, and you’ll be ready to ride in no time!
Unboxing Your ECO R6
Start by unboxing your bike carefully and removing all packaging materials. Grab the following components and set them aside:
- Seat Pack and Seatpost
- Pedals
- 16-in-1 toolkit
- Riser Screw Plug
- Front Wheel Axle
- Front Fender
- Front Wheel Set
- 15 Gauge Open End Wrench
Next, locate the battery (the key should be hanging on the handlebars) and put it on charge while we assemble the bike to save time.
Now, let’s get started!
Step 1: Handlebar Assembly
- Rotate the riser so it’s parallel to the fork and frame. Use the No.4 Allen key from your toolkit to tighten the screws on the riser evenly. Tip: Tighten both screws gradually to ensure balance.
- Close the riser plug at the top.
- Remove the riser’s front cover by unscrewing the four bolts with your Allen key.
- Place the handlebar into the riser, adjust the angle to your liking, and reattach the cover. Note: Avoid twisting the harness.
- Gradually tighten the four front cover screws with the No.4 Allen key.
Step 2: Headlight and Fender Assembly
- Use the No.4 Allen key to remove the screws from both sides of the front fork. Align the fender sticks with the screw holes and secure them tightly.
- Pre-install the headlight on the fork using the headlight fixing screws.
- Pre-tighten the nut, then securely tighten the screw with a No.5 Allen wrench.
Step 3: Front Wheel Assembly
- Remove the support shaft from the front wheel hub using the No.15 open-end wrench.
- Unscrew the quick-release lever nut and remove one conical spring.
- Reattach the spring and nut to the quick-release lever.
- Position the front wheel so the axle fits snugly into the fork dropouts, ensuring the disc brake aligns properly.
- Adjust the quick-release handle’s tension and lock it upward. Check that the wheel is centered before tightening everything.
Step 4: Pedal Assembly
- Identify the pedals marked “R” for the right side and “L” for the left side.
- Screw the right pedal clockwise into the right crank by hand, then tighten it with the No.15 wrench.
-
Screw the left pedal counterclockwise into the left crank by hand, then tighten it with the No.15 wrench.
Important: Align the threads carefully and avoid forcing the pedals into place.
Step 5: Seat Installation
- Open the seat post clamp.
- Insert the seat post into the frame and adjust the height. Ensure the seat post extends beyond the safety line.
- Close the seat post clamp.
Step 6: Rear fender support stick and protection rod fixing method
- Use the No.4 Allen key to remove the screws and pads on both sides of the frame.
- On the left side, insert the support stick through the fender support and secure it. Tighten the screws with a No. 4 hex wrench.
- On the right side, remove the shaft protective cap. Use a No. 18 open-end wrench to loosen the motor screws. Install the protective rod and tighten the screws. Finally, secure the support stick screws.
Step 7: Battery Installation and Power On
- Unlock the battery and install it into the frame.Ensure the switch is in the “I” position to activate the battery.(as shown in the figure).

- Long press the display’s power button to turn the bike on or off.
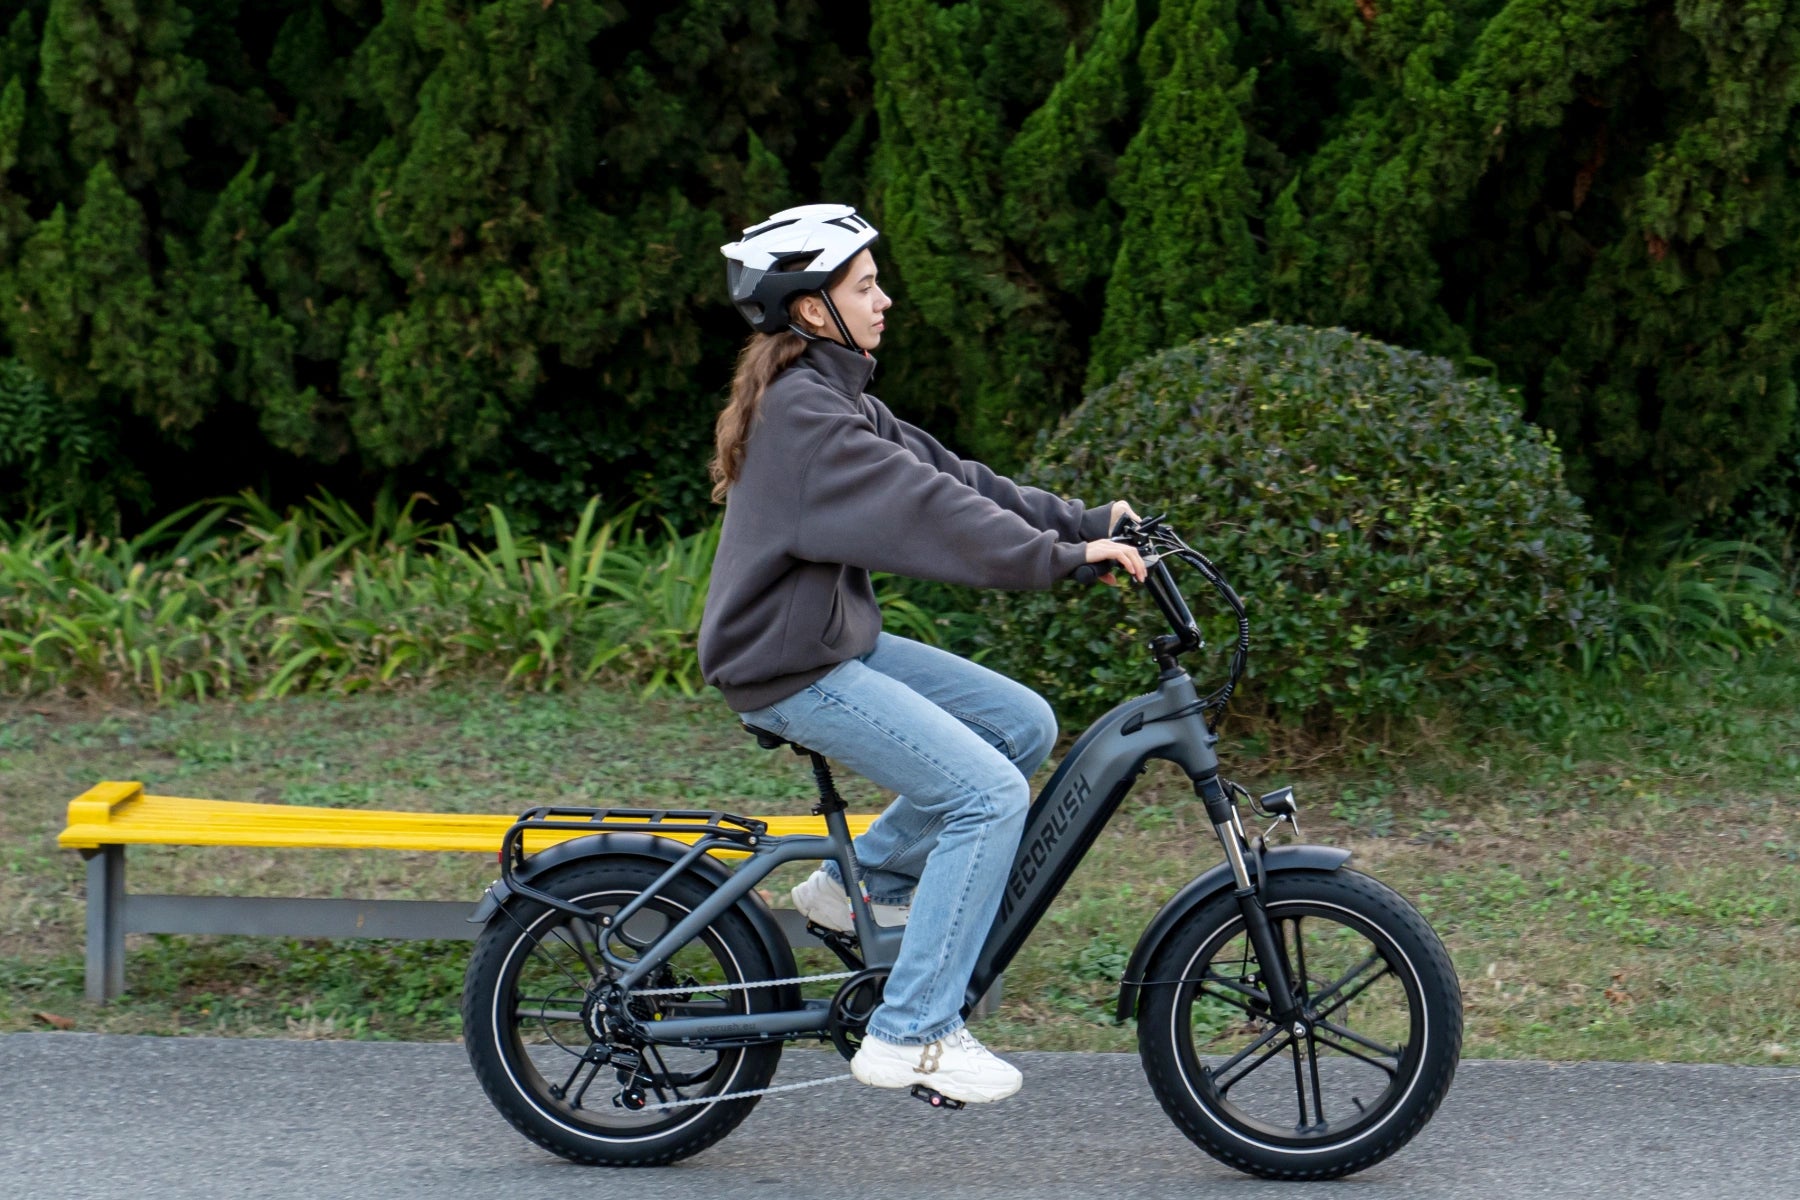
Congratulations, You’re Ready to Ride!
That’s it—you’ve successfully assembled your ECO R6! Before your first ride, double-check the tire pressure, ensure all screws and bolts are secure.
If you have any questions or need assistance, feel free to reach out to us. We’re always here to help.
Happy riding!
Share:
How to Assemble Your ECO R3 Electric Bike
How to Assemble Your ECO R1 Electric Bike